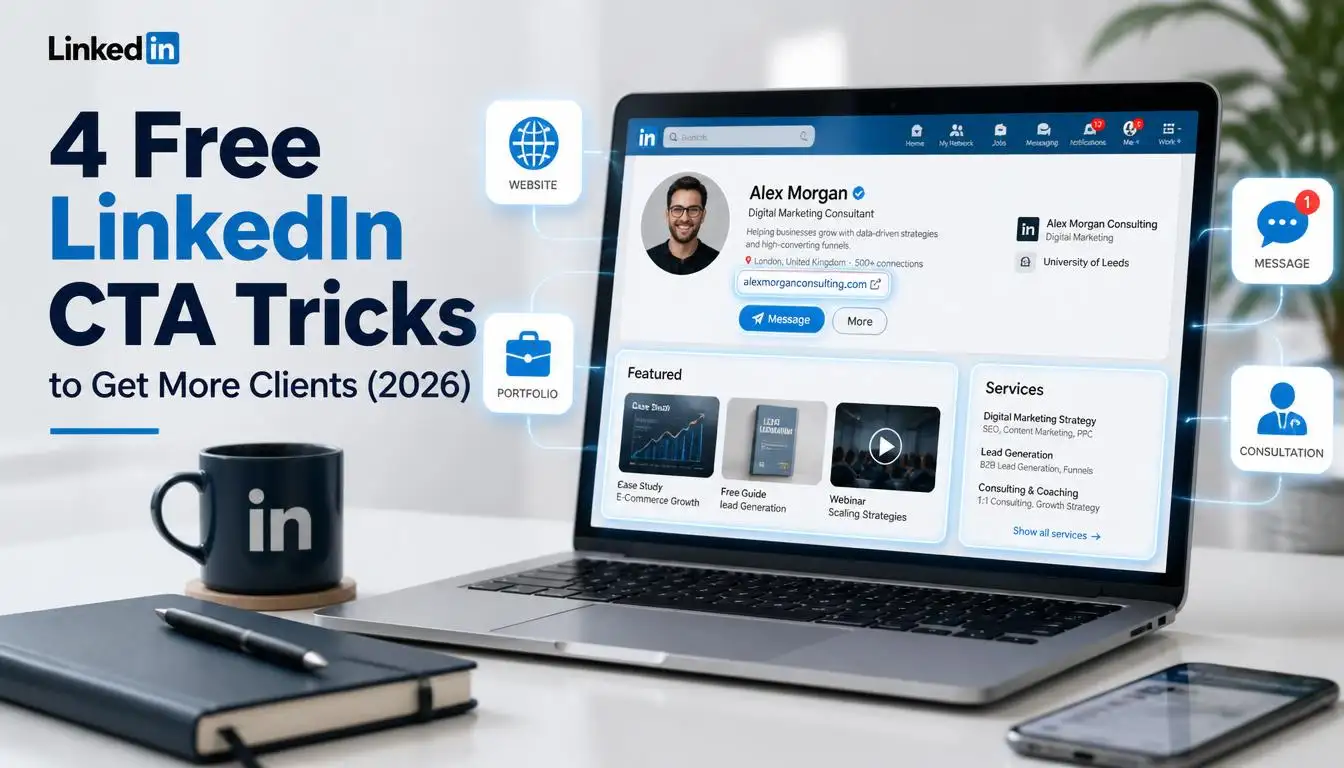
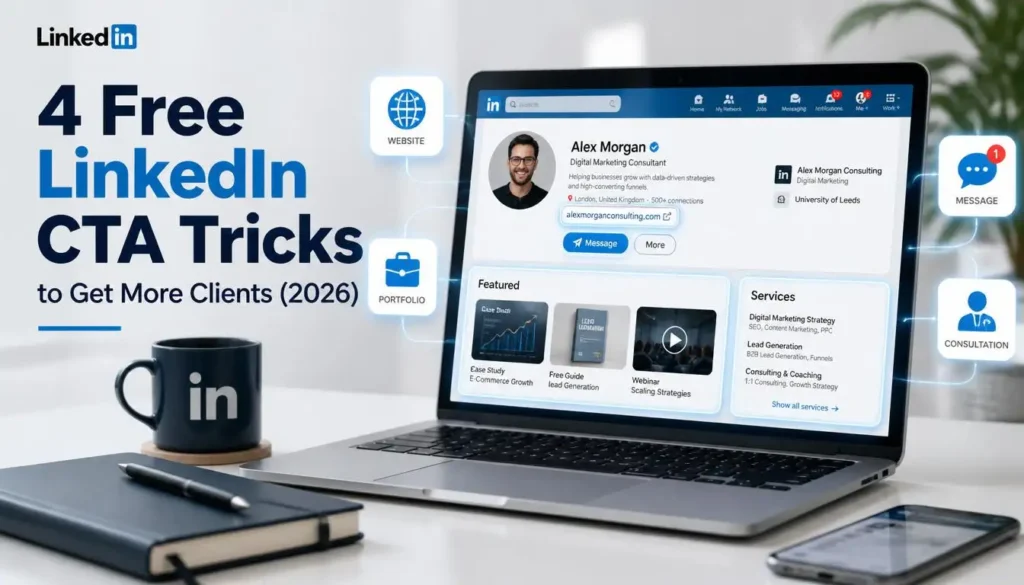
LinkedIn gives you more than one place to add clickable links on your profile, and most people only know about one or two of them. In this guide, we cover all four ways to add call-to-action links, including the free alternatives after LinkedIn removed the intro CTA for non-premium users.
Most people create a LinkedIn profile, add a cover photo, write a headline, and think that’s it. But one thing almost everyone misses is a Call to Action. Telling the visitor “what to do now.” What happens when there’s no CTA? People just look at your profile and leave.
They don’t message, click a link, or inquire about a service. That’s why a CTA is crucial. it’s the part of your profile that works on your behalf 24/7, whether you’re online or not.
Important Update: LinkedIn Removed the Intro CTA for Free Users
Before we get into the good stuff, there is one important thing you need to know.
LinkedIn recently made a small but significant change. The CTA link that used to appear directly in the profile intro section has been removed for free users. That option is now exclusively available to LinkedIn Premium members.
That is the bad news. But here is the good news: there are still multiple other ways to add call-to-action links to your LinkedIn profile completely for free. Let us go through all of them one by one.
4 Ways to Add Call to Action on Your LinkedIn Profile
1. Contact Info Section (Add Your Website Links)
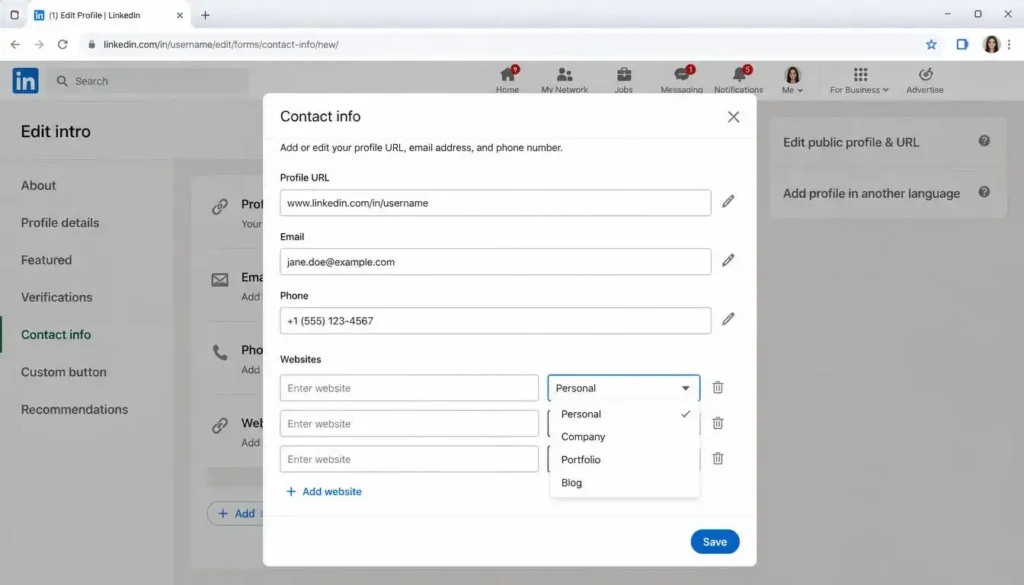
This is one of the most underused but powerful places to add your links.
Here is how to do it:
- Go to your LinkedIn profile and click the pencil (edit) icon.
- Scroll down and click on Contact Info.
- Inside Contact Info, you will see your Profile URL, email address, and options to add your phone number, address, and birthday.
- The most important field here is Websites. This is where you can add any URL you want, your YouTube channel, blog, portfolio, or business website.
- After adding the URL, you can also select the type of website it is: Personal, Company, Blog, RSS Feed, Portfolio, or Other.
- You can add up to 3 websites in this section. So if you have a personal site, a blog, and a company site, you can add all three.
- Once done, save your changes.
Whenever someone visits your profile and clicks on Contact Info, they will see all the links and details you have added here.
Note: The Instant Messaging section inside Contact Info (Skype, ICQ, Google Hangouts, QQ, WeChat) is largely outdated. Skype’s consumer app was discontinued, and most of these platforms are no longer relevant for professional networking. You can safely skip this section.
Real Examples
If you’re a video editor, add your portfolio as the first link, a Calendly booking page where clients can schedule meetings directly, and a YouTube channel so people can see your actual work.
If you’re a content writer, add your best article or blog post as the first link, a LinkedIn post that showcases your expertise, and a testimonial page as the third.
If you’re a graphic designer, add Behance or Dribbble first, then a link to your Fiverr profile, and your website as the third.
2. Message Button in Profile Intro
The second CTA option is a Message button that appears directly on your profile. Even people who are not in your connections can message you directly using this button.
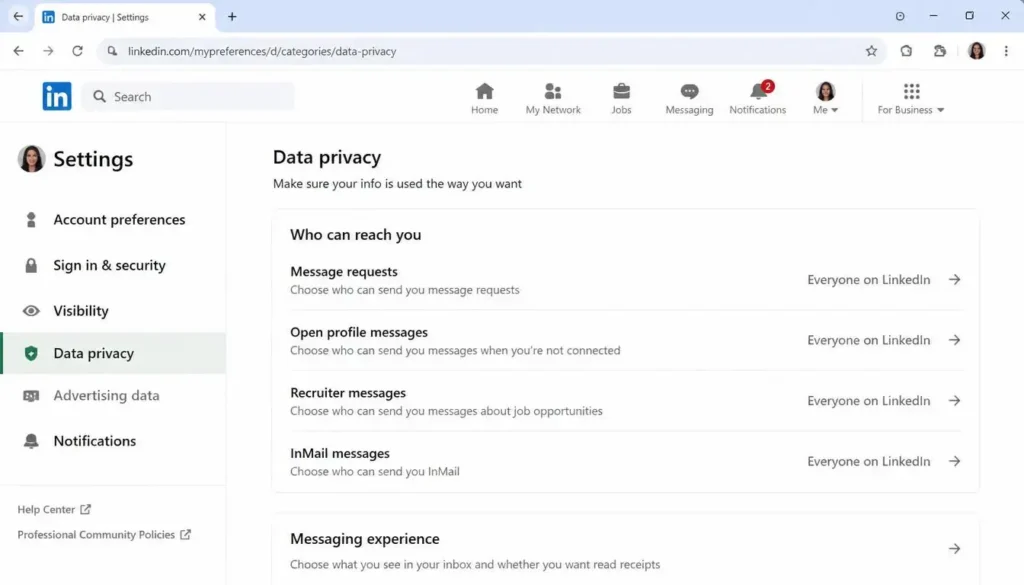
To enable this, follow these steps:
- Click on your Profile icon and go to Settings & Privacy.
- Inside Settings & Privacy, navigate to Data Privacy.
- Scroll down to the “Who can reach you” section and click on Messages.
- Here you will find the Message Request option. If it is turned off, enable it.
- You will also see options for:
- InMail Messages: control whether LinkedIn Premium users can send you InMails.
- Open Profile Messages: allow anyone to message you directly.
- Recruiter Messages: allow recruiters who are hiring to contact you.
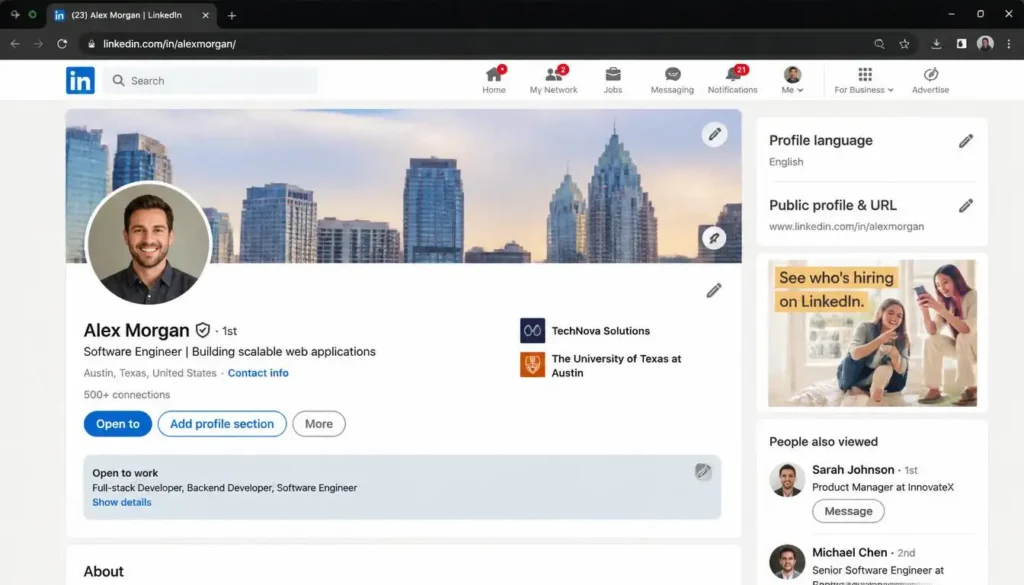
Once you enable Message Requests, a Message button will appear on your LinkedIn profile. Anyone visiting your profile can use it to reach out to you directly.
3. Featured Section (Add Links with Thumbnails)
The Featured section is one of the best places to showcase your CTAs with a visual thumbnail image, making it much more eye-catching than a plain link.
Here is how to add a CTA link in the Featured section:
- Go to your profile and click on Edit Profile Section.
- Under the Recommended section, find Featured and click Edit Featured Section.
- Click the plus (+) icon to add a new item.
- From the options that appear, click Add a Link (not Add Article, Add Post, or Add Media).
- Paste the link you want to promote, your portfolio, a consultation booking page, or any other URL.
- Click Edit on the link you just added.
- Give it a Title: for example, “1-on-1 Consultation” or “My Portfolio.”
- Write a short description explaining what the link is about.
- You can also upload a custom thumbnail image for this link to make it look professional and branded.
Once saved, this link will appear in your Featured section, visible to everyone who visits your profile.
4. Services Section (Get Messages Through Your Services)
If you offer any kind of freelance or professional services, the Services section acts as another powerful call to action, because visitors can directly message you from there.
Here is how to set it up:
- Go to your profile and click Edit Profile Section.
- Under the Core section, find Services and click Edit.
- Click Continue to begin setting up your services.
- Add your relevant services: for example, Graphic Design, Logo Design, Content Writing, etc. You can add up to 8 services.
- Click Done after selecting your services.
- Write a proper description (up to 500 characters) explaining what services you offer and how you deliver them.
- Set your work location; you can choose remote, on-site, or both.
- For pricing, you have two options:
- Set an hourly rate if you have fixed pricing.
- Select Contact for Pricing if you prefer clients to reach out before knowing your rates.
- Once everything is filled in, click Publish.
After publishing, anyone who visits your profile and views your Services section will be able to message you directly from there. This is a strong CTA, especially for freelancers and consultants.
Common Mistakes People Make
Most people create LinkedIn profiles but leave CTA spaces blank. Some don’t add a thumbnail to the Featured section, some don’t write a description in the Services section, and some leave the Message button off.
Some fill in only contact information and ignore the other three fields altogether. These are minor mistakes, but they cause potential clients to leave without even looking at the profile.
Quick Recap: Which CTA Should You Use?
| CTA Option | Best For | Visibility |
|---|---|---|
| Contact Info | Sharing multiple links (blog, portfolio, site) | Only visible when someone clicks Contact Info |
| Message Button | Letting anyone reach out to you directly | Always visible on your profile |
| Featured Section | Visually promoting a specific offer or page | Prominently visible on your profile |
| Services Section | Freelancers wanting direct client inquiries | Visible under your profile sections |
FAQs
Can free users add CTAs on LinkedIn?
Yes, of course. Only the intro button is for Premium users, but the other four locations are available for free.
How many links can be added to the Featured section?
You can add multiple links, but keep it to 2 or 3 for a clean profile.
What’s the difference between the Services section and Contact Info?
Contact Info contains only links that appear when someone specifically clicks. The Services section displays your full offering, and direct messages can also be sent from there.
Yes, if it’s off, only your connections can message. By turning it on, any stranger can reach out and become a client.
Disclaimer: LinkedIn’s features and interface are updated frequently. Some options or steps mentioned in this article may have changed since this was written. Always refer to LinkedIn’s official Help Center for the most up-to-date information.